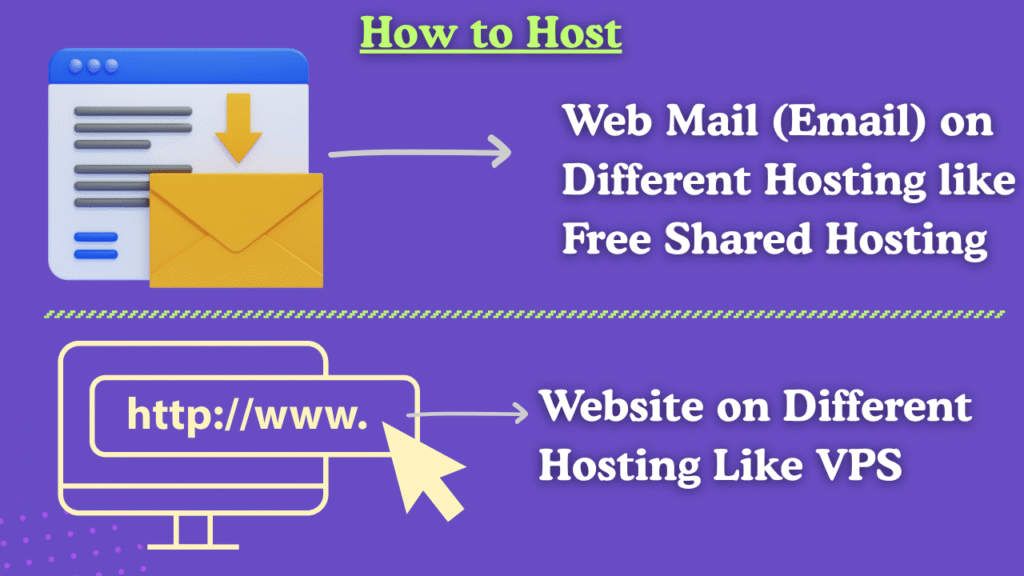
If you want to host your website on a VPS but manage email from a cPanel shared hosting, this guide will help you set everything correctly. Follow these steps for any domain — fast, simple, and accurate.
🔹 Part 1: DNS Settings (Very Important)
All DNS records must be added where your domain is hosted (Hostinger, GoDaddy, Namecheap, etc.).
You need to add four main DNS records:
1️⃣ A Record – Point Domain to VPS
This sends website traffic to your VPS.
Type: A
Name: @
Value: YOUR_VPS_IP
TTL: Default
Optional (recommended for SSL):
Type: A
Name: www
Value: YOUR_VPS_IP
TTL: Default
2️⃣ A Record – Point Email to cPanel
This points the email to your shared hosting server.
Type: A
Name: mail
Value: YOUR_CPANEL_IP
TTL: Default
3️⃣ MX Record – Route Emails to cPanel
Delete all old MX records first (Hostinger MX, Google MX etc.).
Add only this:
Type: MX
Name: @
Priority: 0
Value: mail.yourdomain.com
TTL: Default
Your email will now work from cPanel.
4️⃣ SPF Record – Required for Email Delivery
This verifies that your cPanel server is allowed to send mail.
Type: TXT
Name: @
Value: v=spf1 +a +mx ip4:YOUR_CPANEL_IP ~all
TTL: Default
Example:
v=spf1 +a +mx ip4:162.241.85.60 ~all
5️⃣ DKIM Record – Strong Email Authentication
Get this from your cPanel:
cPanel → Email Deliverability → Domain → DKIM
Add this as a TXT record:
Type: TXT
Name: default._domainkey
Value: (Long DKIM Key Provided by cPanel)
TTL: Default
6️⃣ DMARC Record – Optional but Recommended
Type: TXT
Name: _dmarc
Value: v=DMARC1; p=none;
TTL: Default
🔹 Part 2: Add Your Domain to cPanel
This step is done only once.
- Login to cPanel
- Go to Domains
- Click Create New Domain
- Enter your domain
- Keep the document root default
- Save
Your domain is now connected to cPanel for email management.
🔹 Part 3: Create Email Accounts in cPanel
- Open cPanel
- Go to Email Accounts
- Click Create
- Enter email username and password
- Click Create
Your email account is ready.
🔹 Part 4: Access Your Email (Webmail)
Use either:
yourdomain.com/webmail
or
webmail.yourdomain.com
Login → choose Roundcube.
🔹 Part 5: Connect Email to Gmail or Phone (IMAP/SMTP Settings)
IMAP (Incoming Mail)
Host: mail.yourdomain.com
Port: 993
SSL: Yes
Username: your full email
Password: your email password
SMTP (Outgoing Mail)
Host: mail.yourdomain.com
Port: 465
SSL: Yes
Username: your full email
Password: your email password
🎉 You’re Done!
This setup works perfectly when:
✔ Your website is hosted on VPS
✔ Your email is hosted on cPanel shared hosting
✔ Your domain DNS is managed anywhere
Follow these steps for every domain and everything will work smoothly.