So you want to build your own website? Great choice.
Before you can design pages in Elementor or add content, you need to set up the foundation:
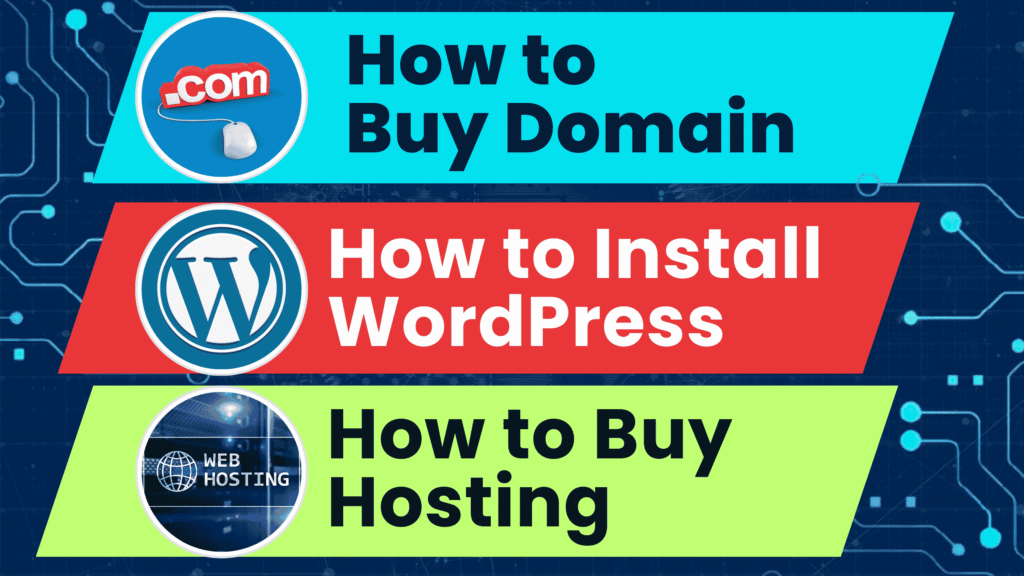
✅ Buy a domain
✅ Buy hosting
✅ Install WordPress
This complete beginner-friendly guide will walk you through each step with expert tips and trusted tools — so your website is live, fast, and future-ready.
🌐 Step 1: Buy a Domain Name
Your domain name is your website’s unique address — like yourbrand.com.
✅ How to Choose a Good Domain:
- Keep it short and easy to remember
- Use your brand or niche keyword
- Avoid numbers and hyphens
- Prefer
.com,.in,.org, or niche TLDs like.store,.tech, etc.
🔑 Where to Buy a Domain:
We recommend trusted registrars like:
Prices usually range from ₹700–₹1200 per year. You can also get a free domain when you buy hosting (see next step).
🚀 Step 2: Buy Web Hosting
Hosting is the service that stores your website’s files and makes them available on the internet 24/7.
✅ Best Hosting Providers (2025):
- Hostinger – Fast, affordable, beginner-friendly
- Bluehost – Officially recommended by WordPress
- SiteGround – High performance and great support
- A2 Hosting – Speed-optimized for WordPress
- Cloudways – Advanced cloud hosting for pros
Choose a shared hosting plan if you’re just starting, or cloud/VPS hosting for faster performance.
🔍 What to Look for in Hosting:
- Free SSL (secure your site)
- One-click WordPress install
- Free domain (optional)
- 99.9% uptime guarantee
- Good customer support
At 24SiteShop, we help clients choose the best hosting based on their goals.
⚙️ Step 3: Install WordPress (One-Click)
Most modern hosting providers offer 1-click WordPress installation from their control panel (cPanel or hPanel).
✅ General Steps:
- Log in to your hosting account
- Open the dashboard or cPanel
- Look for “Auto Installer” or “WordPress”
- Click “Install”
- Choose your domain
- Set admin username & password
- Click “Finish” — WordPress is now live!
Once installed, you can log into your WordPress dashboard at:
👉 yourdomain.com/wp-admin
💡 Pro Tip: Secure & Optimize Right Away
- Change the default login URL with a plugin like WPS Hide Login
- Install a free SSL from your hosting dashboard
- Add essential plugins (SEO, cache, backup, security)
- Use a lightweight theme like Hello or Astra
📦 Summary – Setup Checklist
| Task | Status |
|---|---|
| ✅ Buy Domain Name | [✔️] Completed |
| ✅ Buy Hosting Plan | [✔️] Completed |
| ✅ Install WordPress | [✔️] Completed |
| ✅ Login to WP Dashboard | [✔️] Ready |
| ✅ Install Elementor | [Next Step] |
You now have a live WordPress site ready for design and content!
🌟 What’s Next? Build Your Website with Elementor
Now that your site is live, the next step is designing pages using Elementor — the most popular drag-and-drop WordPress page builder.
👉 Read: Elementor Tutorial for Beginners – All Widgets Explained (2025)
👉 Or watch our full YouTube video guide
🔧 Need Help Setting Up?
Let the pros at 24SiteShop help you get started faster. We offer:
✅ Domain + Hosting Setup
✅ WordPress Installation
✅ Custom Website Design (Elementor)
✅ Landing Pages, SEO Setup, Speed Optimization
✅ Ongoing Support & Maintenance
📩 Contact us today to get your website live in 24 hours.